If you already have a bidder or vendor account you can login using the form below:
Vendors
Menu Options
Menu Options
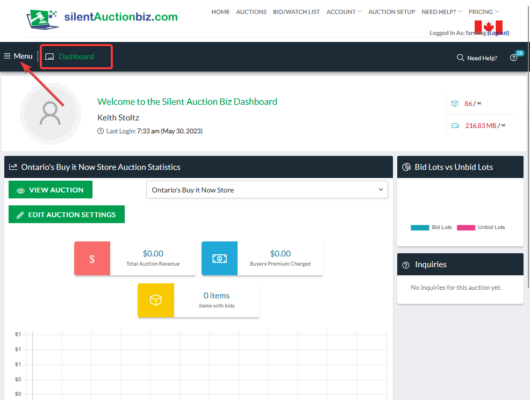
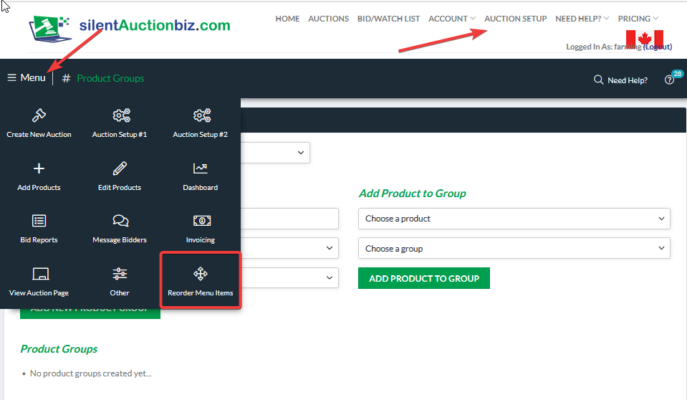
You will go to the Dashboard screen when you first login. The other Menu options will be under the Menu icon on the top left corner of your screen.
You can also see the Menu Options when you click on the Auction Setup heading at the top of your screen once you are logged in.
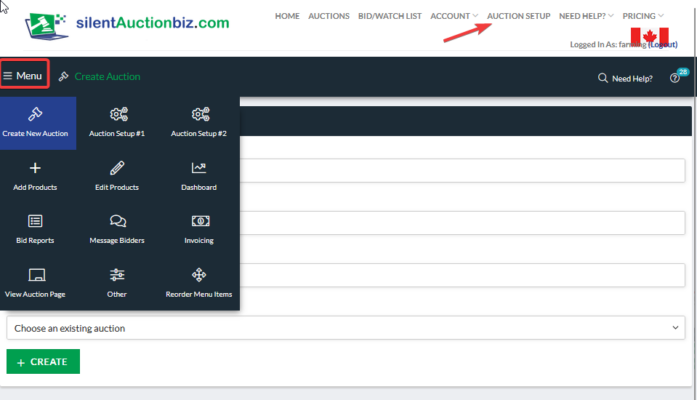
You can create a new auction by clicking on the Create New Auction icon. The first time you set up an auction, you will not see the Choose an existing auction field. You will see that option in future Create New Auction setups as you can then copy over your information from a past auction.

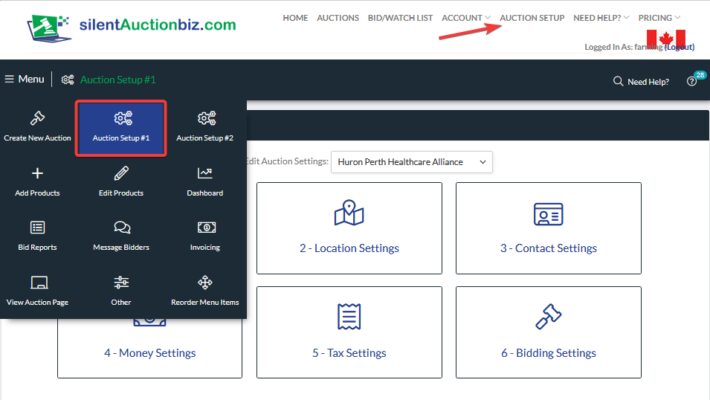
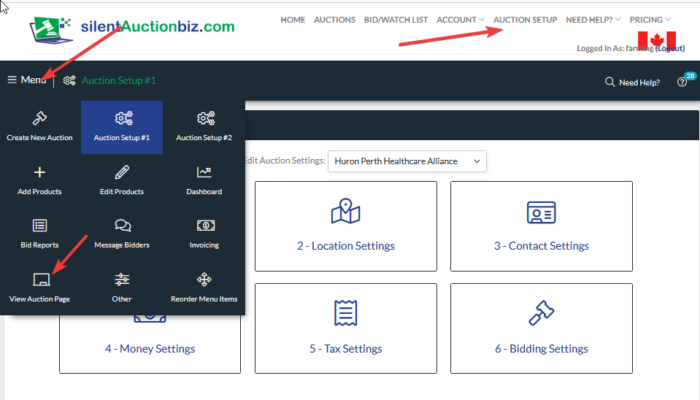
When you click on the Auction Setup #1 icon, you will have the first 6 steps to setup your auction. Click on 1-General Settings, 2-Location Settings, 3-Contact Settings, 4-Money Settings, 5-Tax Settings and 6-Bidding Settings to further build your auction. There are other Need Help articles for each of these icons.
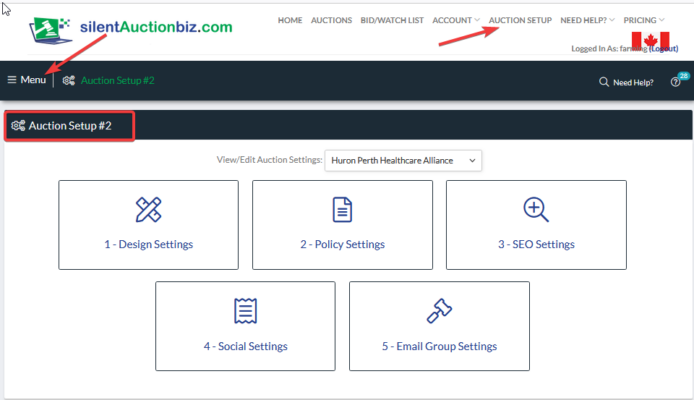
When you click on the Auction Setup #2 icon, you will have the next 5 steps to setup your auction. Click on 1-Design Settings, 2-Policy Settings. 3-SEO Settings, 4-Social Settings and 5-Email Group Settings to further build your auction. There are other Need Help articles for each of these icons.
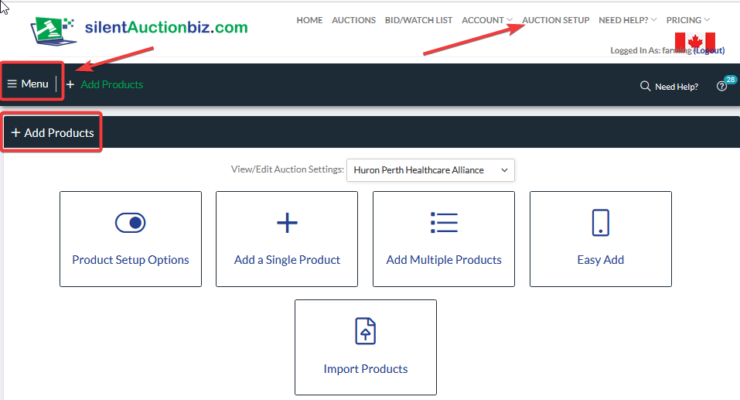
There are multiple options when you click on the Add Products icon. The first thing you will do is click on Product Setup Options. This will allow you to set the fields you want to show when you are adding an item. You can Add a Single Product, Add Multiple Products, use Easy Add on your cell phone and Import Products by clicking on any of these icons. There are other Need Help articles for each of these icons.
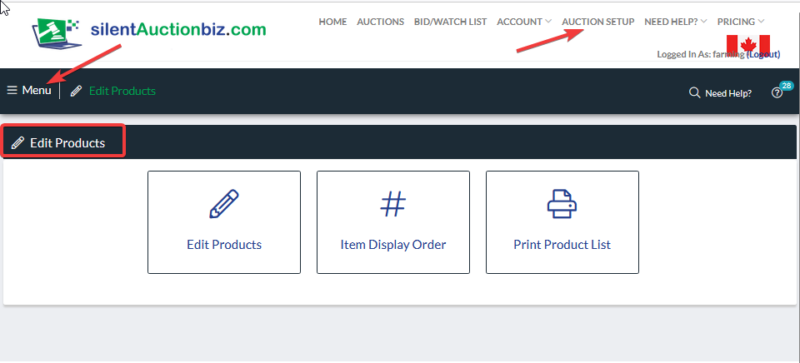
There are multiple options when you click on the Edit Products icon. The first icon called Edit Products will take you to the screen where you can edit, view, duplicate and archive the products. The next icon called Item Display Order is the screen where you can change the order of your products. The last icon is called Print Product List where you can print or save your list of items as a PDF file. There are other Need Help articles for each of these icons.
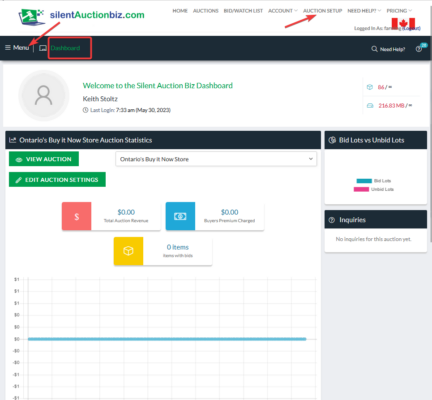
The Dashboard icon will give you many statistics on your auction. It is a recap of many items. You will also go to this screen when you login. There is another Need Help article to further explain everything you see here.
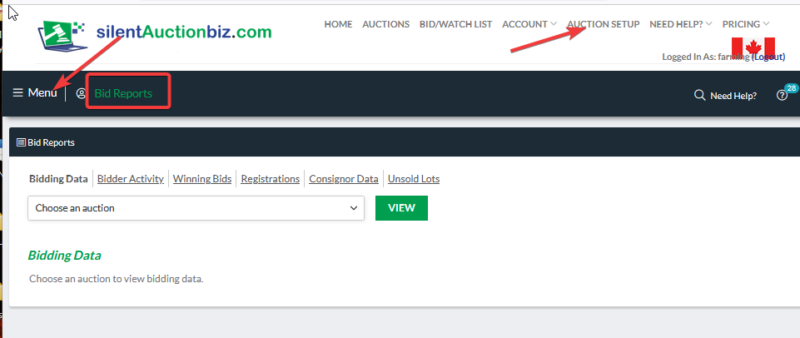
The Bid reports icon will give you endless bid reports in Excel form that you may download. There is another Need Help article that will explain each one of these bid reports.
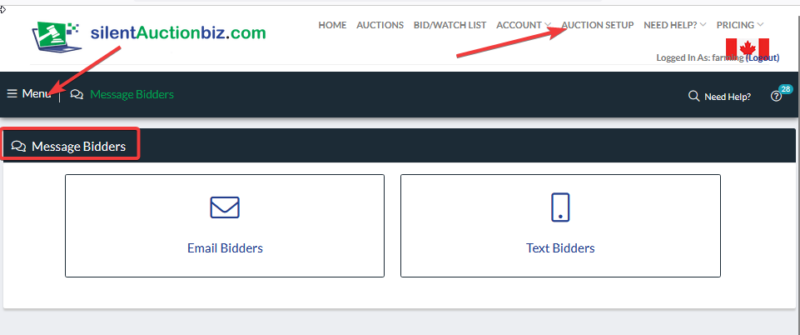
The Message Bidders icon will give the opportunity to Email Bidders and or Text Bidders. More information for each of these icons will be in another Help Wanted article.
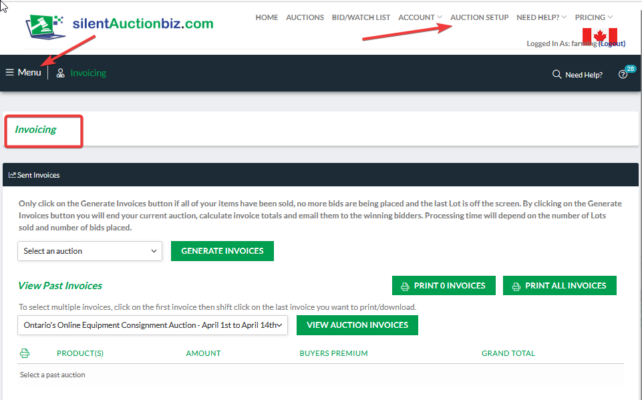
The Invoicing icon is where you will Generate Invoices once your auction is totally over and no items are left on the screen to sell. More information on this icon will be in another Need Help Article.
The View Auction Page icon will take you to your auction page that the bidders will see. It will show all of your information and the products you have added.
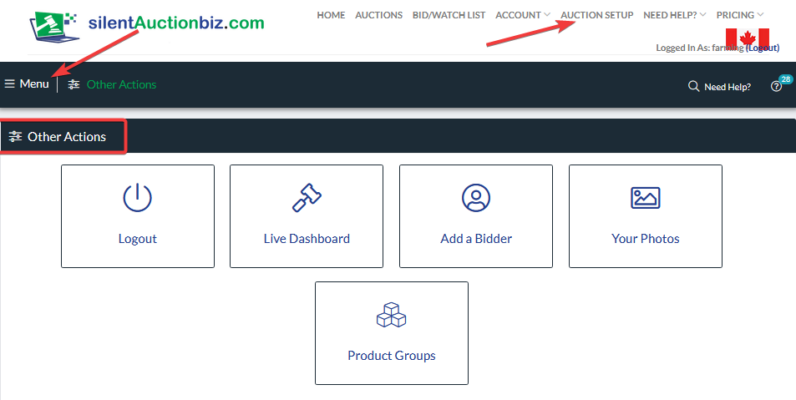
The Other Actions icon will take to a screen with lesser used procedures. You will be able to logout; these is an option for a live and online auction; you may add a bidder; view or upload all of your photos and you can group product groups.
With this Reorder Menu Items, you will be able to move around the icons to your preference and then saving the new order.
 Check out some of these popular items: